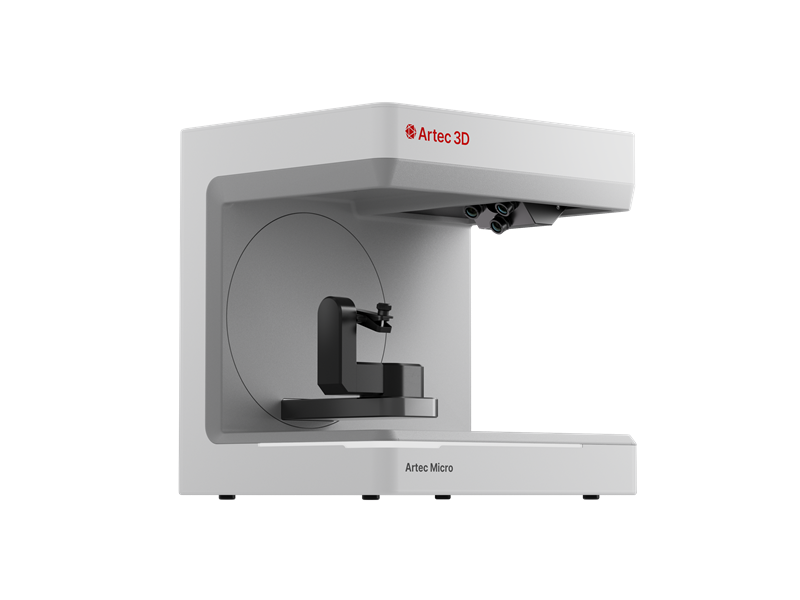
3D-scanner Artec Micro II
Manufacturer:
- Artec 3D (USA)
Equipped with even greater accuracy, a larger field of view, and the same compact form as its predecessor, the fully automated desktop 3D scanner Micro II allows users to make professional reverse engineering and quality inspection effortless. Activated by a simple click of a button, this 3D scanner for small objects provides a stringent 5-micron accuracy to create highly precise, full-color 3D models of industrial parts, dental, and jewelry
Application in various fields
Reverse engineering small objects
If you have a small or tiny part that is a legacy piece with no ready-made replacement, or requires any modification, Micro II has you sorted
Forensics
When working in a crime scene or capturing data from evidence, accuracy is as essential as speed is. With Micro II, you’ll be able to quickly digitize essential pieces of evidence such as bullets or pieces of debris for documentation, analysis, or presenting in court
Jewelry
Customized jewelry is never made as a second thought – it’s a process that requires high attention to detail, and where every tiny detail counts. With Micro II, much of the work is done for you at the click of a button, leaving you to focus your efforts on other tasks in your process
Archeology & paleontology
The Micro II allows you to quickly and easily digitize specific pieces or entire collections, in high accuracy and great detail, to create the 3D models you need for preservation, research, digitization, and restoration
Dentistry
When it comes to applications that require as much care or customization as dentistry, leave nothing to chance – Micro II is designed to ensure every part of your product is precisely what you need it to be
Technical specifications
| Specifications | Artec Micro II |
| 3D accuracy: | up to 5 microns (0.005 mm) |
| Repeatability: | up to 2 microns (0.002 mm) mm |
| Full-color scanning: | There is |
| Object dimensions: | 20 × 20 × 15 cm |
| Target-free scanning: | There is |
| Output formats: | All popular formats, including STL, OBJ, BTX |
| Light source: | RGB LED |
Features and benefits
Metrology-grade accuracy for small parts
Expect top-quality data with a point accuracy of up to 5 microns, making Micro II the most ideal of 3D scanners for high-level reverse engineering and quality inspection of small and tiny parts. Everything you scan, captured in crystal-clear quality!
Scan anything you can hold
From tiny items that you can hold between two fingers up to those that sit in the palm of your hand (20 × 20 × 15 cm), Micro II gets right to work straight from your desktop, demanding little from you and absolutely no targets used for your scans

3D scanning in just one click
Prioritize your time with a one-click workflow. Powered by smart algorithms in Artec Studio, the scanner automatically positions your object to follow the ideal scanning trajectory. This ensures that your object is thoroughly scanned from all sides, and in minimal time
Data capture at lightning speed
With 1,000,000 calculations made per second, your 3D scanner captures and processes more than 140 million image points per second
Cameras
The Micro II is equipped with four high-resolution cameras, and is capable of scanning sharp edges and miniscule details – just what you need for the 3D scanning of small objects


